

Teeth Whitening Before Photos: Real Results Explained
What do teeth whitening before and after photos actually show?
Professional teeth whitening before photos reveal one consistent truth: most people start with more staining than they realize. Real patient results from in-office treatments show shade improvements of 4–8 levels on standardized shade guides after a single session. That range is not a marketing claim. It reflects what peroxide-based whitening agents actually do when applied under controlled clinical conditions.
The photos that matter most are taken under consistent lighting, at the same angle, against a neutral background. When those conditions hold, the comparison is honest. You can see the actual shift in enamel color, not a trick of overexposed studio lighting.
Here is what authentic teeth whitening results photos typically document:
- Extrinsic stain removal: Surface discoloration from coffee, tea, and red wine responds well, often producing the most dramatic visible change.
- Shade guide labeling: Reputable before and after galleries label each case with the number of shades improved, using a standardized Vita shade guide or equivalent.
- Treatment type noted: Credible photos specify whether the result came from a single in-office session, a take-home tray system, or a combined approach.
- No alteration to surrounding tissue: Whitening affects enamel only. If the gums, lips, or skin look lighter in the “after” image, the photo has been edited.
| Shade Improvement | Typical Treatment | Stain Type |
|---|---|---|
| 4 shades | Single in-office session | Mild yellowing |
| 6 shades | In-office or combined plan | Moderate surface staining |
| 8 shades | Professional in-office | Heavy extrinsic staining |
| 4–6 shades | At-home tray system | Mild to moderate yellowing |
Pro Tip: When browsing teeth whitening comparison images online, zoom in on the gum line in the “after” photo. Gums should look the same color as in the “before.” Lighter gums are the clearest sign of photo manipulation.
How does the whitening process work, and how long does it take?
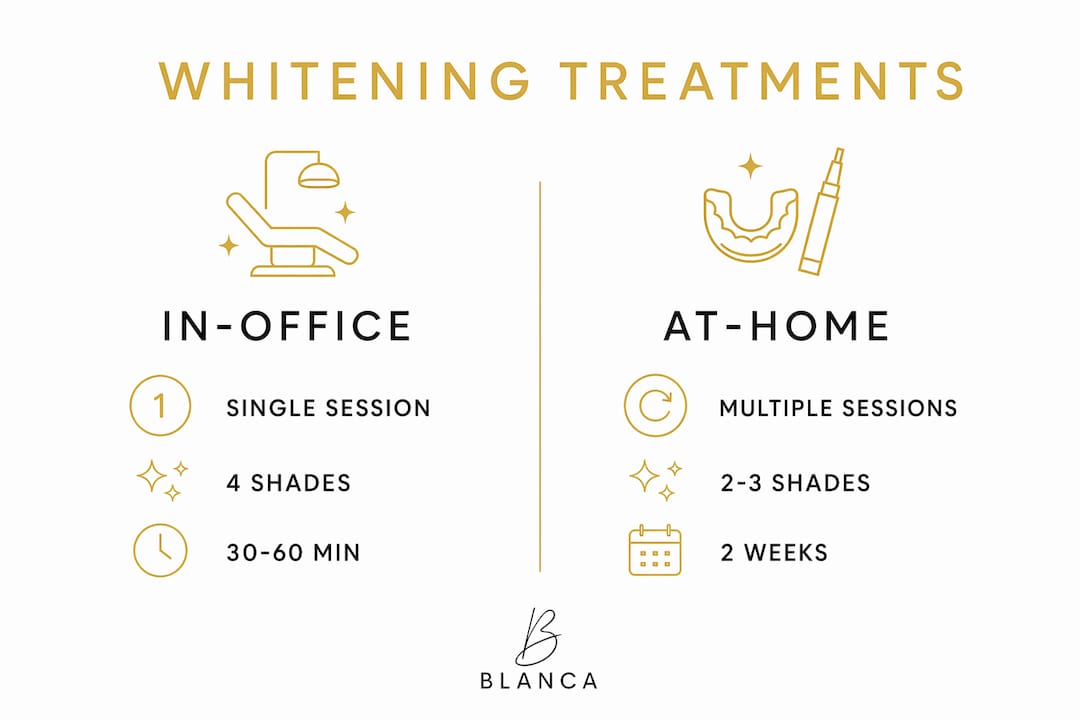
Professional in-office whitening uses a high-concentration peroxide-based gel applied directly to the enamel surface. The peroxide penetrates the enamel and breaks apart the chromogen molecules responsible for discoloration. Most in-office appointments take about one hour, and visible results appear immediately.
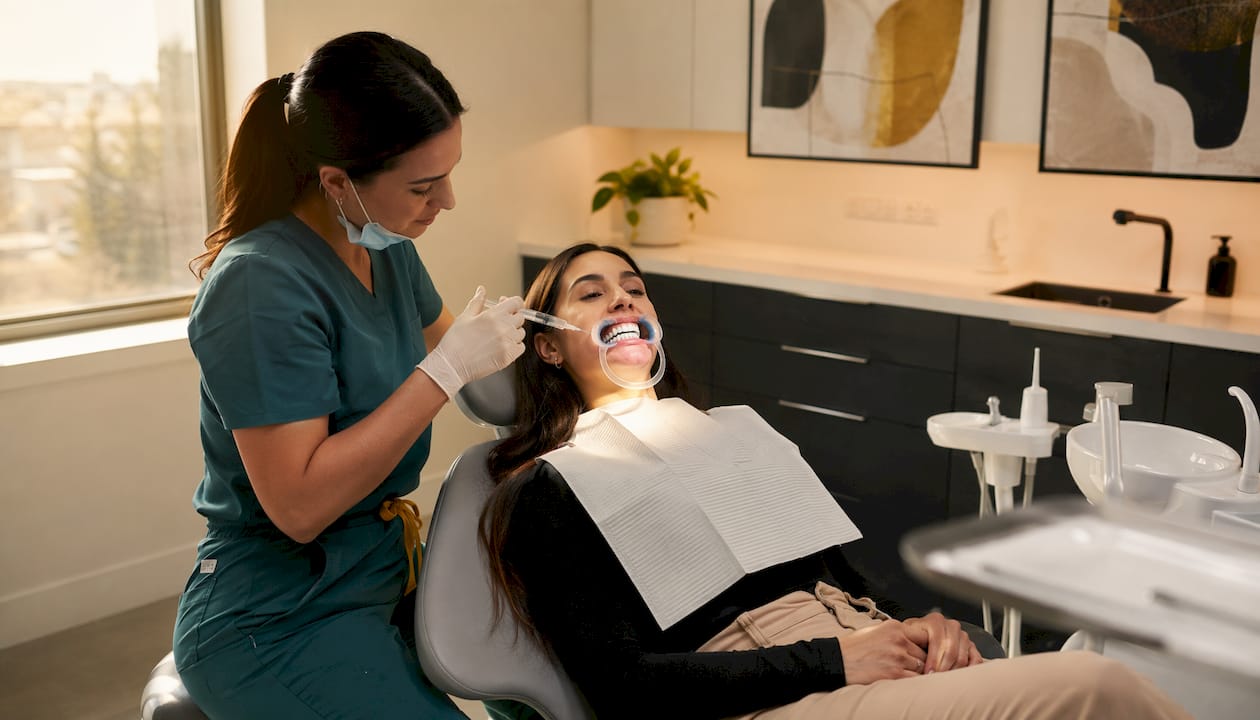
At-home systems use a lower concentration of the same active ingredient, which means gradual results over days to weeks with consistent daily use. The end result can match professional outcomes when the system is used correctly and on schedule.
Several factors determine how quickly and completely whitening works:
- Stain depth: Surface stains on enamel respond faster than staining that has settled deeper into the tooth structure.
- Enamel thickness: Thinner enamel allows peroxide to reach the dentin layer more easily, which can increase sensitivity.
- Baseline shade: Teeth that are more yellow tend to show more dramatic improvement than teeth with a grayish or brownish cast.
- Consistency of use: At-home trays require daily wear for the full recommended period to reach the target shade.
| Treatment Type | Session Length | Visible Results | Typical Shade Gain |
|---|---|---|---|
| Professional in-office | 1 hour | Immediate | 4–8 shades |
| Take-home tray system | — | 1–2 weeks | 4–6 shades |
| Combined approach | In-office + at-home | Immediate + gradual | Up to 8 shades |
Pro Tip: Brushing before whitening removes plaque and surface debris, which helps the peroxide gel make direct contact with the enamel for better penetration and more even results.
Are whitening results permanent, and how do you maintain them?
Whitening results are not permanent. Re-staining typically begins within months and results generally last anywhere from six months to three years, depending on diet, oral hygiene habits, and the original treatment type. Coffee, tea, red wine, and tobacco are the primary culprits, and aging naturally darkens enamel over time regardless of treatment.
Maintaining brightness after whitening requires a few consistent habits:
- Rinse with water immediately after consuming staining beverages.
- Use a whitening toothpaste daily to manage surface buildup.
- Schedule periodic touch-up treatments, either with professional trays or a clinically backed at-home whitening system.
- Attend regular dental cleanings to remove tartar that traps staining compounds.
- Avoid tobacco products, which cause deep staining that resists standard peroxide treatment.
Mild tooth sensitivity after whitening is common and usually resolves within 24–48 hours. It occurs because peroxide temporarily opens microscopic channels in the enamel, allowing fluid movement near the dentin. Dentists manage this with desensitizing agents applied before or after treatment, and by adjusting gel concentration for people with naturally sensitive teeth. Sensitivity is not a sign of damage. It is a predictable, manageable side effect.
Why authentic before and after photos are a clinical tool, not just marketing
The most useful teeth whitening results photos are the ones your own dentist takes. A photo from a provider’s actual patient file, shot under consistent lighting with a shade guide in frame, tells you something specific about what that practice can achieve. Generic stock images or heavily filtered brand photos tell you almost nothing.
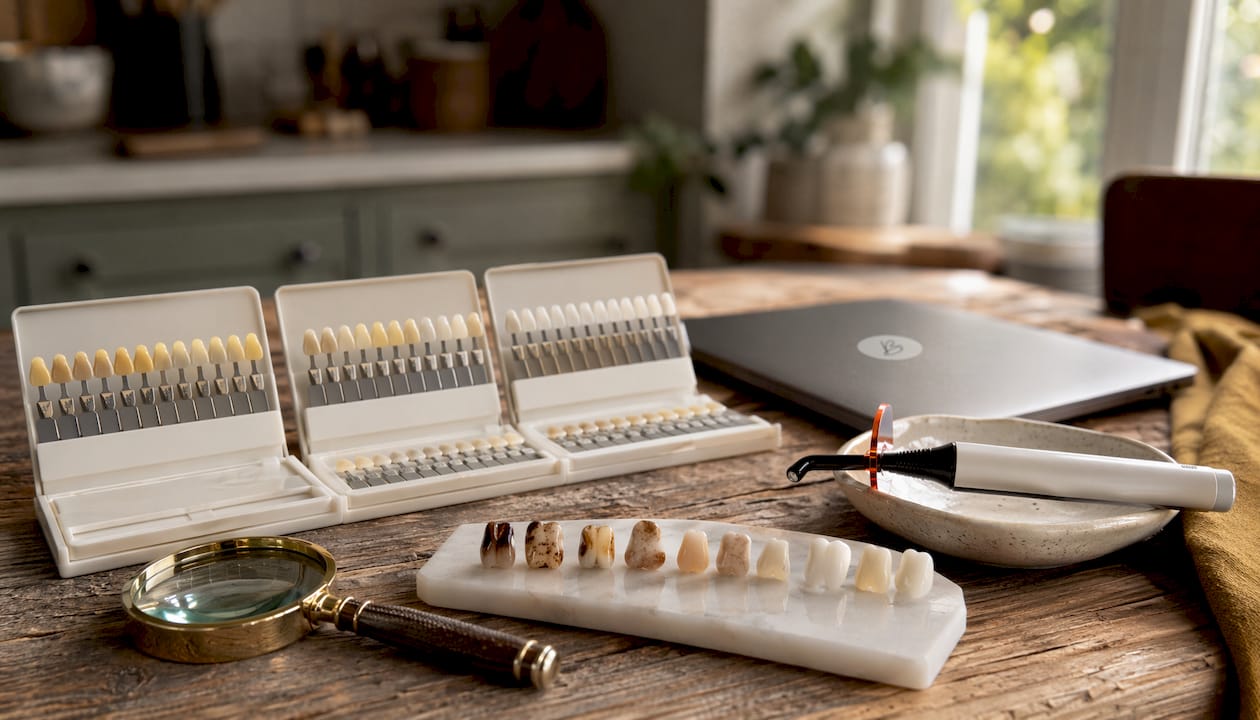
Dentists use standardized shade guides alongside photos because photos alone cannot reliably quantify color change. The Vita Classical shade guide, for example, organizes tooth shades from lightest to darkest, giving both the clinician and the patient a shared reference point. When a practice labels a result “6 shades lighter,” that label should correspond to a documented shift on that guide, not an impression.
Whitening cannot change the color of crowns, veneers, or composite fillings. Dental restorations do not respond to bleaching agents, so a patient with visible restorations in the smile zone may see uneven results if whitening is done without accounting for that. Authentic before and after galleries from reputable practices will include cases like these, not just the cleanest, most photogenic outcomes.
Personalized whitening plans account for stain type, dental history, and sensitivity tolerance rather than targeting a uniform shade for every patient. That individualized approach is what separates a clinical result from a one-size-fits-all product promise.
Pro Tip: Take your own “before” photo at home using natural daylight, a neutral background, and a white piece of paper held near your chin as a color reference. Repeat the same setup after treatment. The comparison will be more honest than any side-by-side you find online.
When should you whiten before a photo session or event?
Timing whitening before a specific event, whether an engagement shoot, wedding, or professional headshot, requires a deliberate schedule rather than a last-minute appointment. The goal is to reach your target shade with enough time for any sensitivity to resolve and for the enamel to fully rehydrate, which restores the tooth’s natural translucency and makes the color look its most natural.
A practical timeline for event-based whitening:
- 4–6 weeks before: Begin a take-home tray system or schedule an in-office session. This gives time for gradual brightening and a follow-up adjustment if needed.
- 1–2 weeks before: Complete the main whitening course. Enamel rehydrates within a few days, and the final shade settles into a more even, natural appearance.
- 3–5 days before: Use a brief touch-up session if the shade has faded slightly or if the initial result was uneven.
- Day before: Avoid staining foods and beverages. Stick to water, light-colored foods, and your regular oral care routine.
Rushing the process with a single high-intensity session the day before a shoot can leave teeth looking temporarily over-bright and may cause sensitivity that shows up in your expressions. A phased approach consistently produces more photo-ready results.
How do whitening results differ by age, tooth condition, and stain type?
Whitening outcomes vary considerably depending on who is being treated and what caused the discoloration. Understanding these differences helps set realistic expectations before you look at any before and after comparison.
Age: Younger adults with thinner enamel often see faster initial results, but they may also experience more sensitivity. Older adults tend to have denser, more mineralized enamel, which can slow peroxide penetration but often produces very stable, long-lasting results once achieved.
Stain type: Extrinsic stains, the kind deposited on the enamel surface by coffee, tea, wine, and tobacco, respond best to peroxide-based whitening. Intrinsic stains, which originate inside the tooth from factors like certain antibiotics taken during tooth development or fluorosis, are much harder to treat and may require alternative cosmetic approaches.
Tooth condition: Teeth with intact, healthy enamel whiten most predictably. Enamel erosion, existing sensitivity, or untreated cavities can complicate treatment and affect how evenly the whitening agent penetrates. A dental exam before whitening is not optional. It is the step that makes the result safe and consistent.
Dental restorations: As noted earlier, crowns and veneers do not bleach. If you have restorations in visible areas, your dentist may recommend whitening first and then updating the restorations to match the new shade, or may advise a different cosmetic approach entirely.
Ready to see your own results?
Blancawhitening products are developed by dental professionals who understand that real results start with the right formulation and the right plan. Whether you are preparing for a photo session, a special event, or simply want a brighter everyday smile, the Blancawhitening whitening collection gives you clinically backed options designed for safe, effective use at home. Check current offers on the Blancawhitening sales page to find the right product for your starting shade and timeline.
Key Takeaways
Professional teeth whitening consistently delivers noticeable shade improvement in a single in-office session, with at-home systems achieving comparable results over one to two weeks of consistent use.
| Point | Details |
|---|---|
| Shade improvement range | Professional in-office whitening typically achieves 4–8 shades of improvement per session, while at-home systems can achieve similar results over one to two weeks with consistent use. |
| Results are not permanent | Whitening effects last months to years depending on diet and maintenance habits. |
| Photo authenticity matters | Check that gums and lips match in color across both images; lighter surrounding tissue signals editing. |
| Stain type determines outcome | Extrinsic stains from coffee and wine respond well; intrinsic stains and dental restorations do not bleach. |
| Timing for events | Complete whitening 1–2 weeks before a photo session to allow enamel to rehydrate and shade to settle. |