

How to Use Whitening Strips Safely and Effectively
Apply whitening strips by pressing the gel side firmly against clean, dry teeth, keeping the gel off your gums, and wearing them only for the time your product’s label specifies. That single instruction covers the core of safe at-home whitening. Follow it consistently across the full recommended course, and you give the peroxide gel the best chance to lift surface stains from your enamel without irritating the soft tissue around it.
Here is the routine at a glance:
- Prep: Brush and floss at least 30 minutes before applying, then dry your teeth with a tissue or cloth.
- Apply: Place the gel side against your teeth, align with the gum line without touching it, and press firmly.
- Wear: Leave strips on for exactly the time your product specifies, nothing longer.
- Remove: Peel off gently, rinse your mouth, and skip brushing for at least 30 minutes if your teeth feel sensitive.
Pro Tip: Wait 30–60 minutes after brushing before applying strips. Brushing temporarily opens microscopic channels in enamel, and applying peroxide gel immediately after can push it deeper and amplify sensitivity.
Key Takeaways
Following the manufacturer’s instructions precisely, from prep through removal, is the single most important factor in getting safe, visible results from whitening strips.
| Point | Details |
|---|---|
| Prep before applying | Brush and floss, then wait 30–60 minutes and dry teeth before placing strips. |
| Stick to the wear time | Never exceed the time on the label; extra minutes increase sensitivity without improving results. |
| Expect results in 1–2 weeks | Quality peroxide strips can lighten teeth by a few shades over a typical 7–14 day course. |
| Know when to stop | Severe pain, persistent bleeding, or one tooth darkening are signs to stop and see a dentist. |
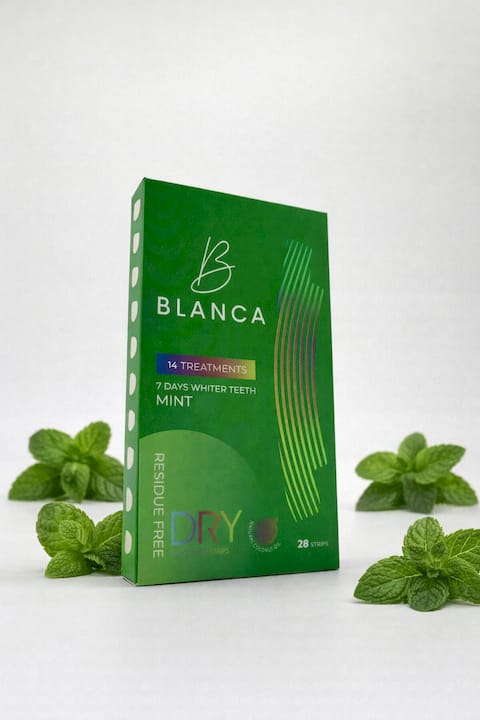
| Blancawhitening strips | Dental-professional formulated for Canadian consumers; available at the at-home whitening collection. |
Table of Contents
- How do you apply whitening strips step by step?
- What should you do while strips are on, and how do you remove them?
- How often should you use strips, and when will you see results?
- Who should consult a dentist before using whitening strips?
- Seven mistakes that reduce results or cause irritation
- How should you store whitening strips safely?
- Why following the label instructions matters: the evidence
- A note from Blanca on safe home whitening
- Brighter teeth at home, backed by dental professionals
- Sources
How do you apply whitening strips step by step?
Good technique starts before the strip ever touches your tooth. Rushing the prep is where most people go wrong.
Preparing your mouth
Brush and floss at least 30 minutes before you begin, but not immediately before. Saliva and plaque on the tooth surface reduce gel contact, so a clean mouth matters. After that waiting period, pat your teeth dry with a clean tissue. A dry surface lets the adhesive grip properly and keeps the gel pressed against enamel rather than sliding around.
Check your mouth for any cuts, active ulcers, or sore spots. If you find any, postpone the session. Peroxide on broken tissue stings and can slow healing.
Identifying and placing the strips
Most kits include two strips: a longer one for upper teeth and a shorter one for lower teeth. The gel side faces inward, toward your teeth. Hold the strip by its edges to avoid transferring gel to your fingers before placement.
Follow these steps in order:
- Hold the upper strip with the gel side facing your teeth and position it just at the gum line, without letting the gel overlap onto gum tissue.
- Press the strip firmly against the front surface of each tooth, working from the center outward.
- Fold any excess strip behind your teeth and press it against the back surface to keep the strip anchored.
- Repeat with the lower strip, again aligning at the gum line.
- Use a clean fingertip or the flat edge of a toothbrush handle to smooth out air pockets and improve contact.
- Check in a mirror that no gel is sitting directly on your gums before you start the timer.
Whitening strips keep a thin layer of peroxide gel against your teeth; because they use higher concentrations of hydrogen peroxide or carbamide peroxide, they should be treated as an intensive treatment and used only as directed to avoid sensitivity and enamel issues. (Cleveland Clinic)
Consumer how-to guidance consistently recommends brushing well, waiting roughly 30 minutes, drying teeth, aligning the gel side to teeth, and not leaving strips on longer than the product recommends. (WikiHow)
Pro Tip: If your strips are too wide for your smile, trim the edges with clean scissors before applying. Gel that sits on gum tissue causes irritation, not extra whitening.
What should you do while strips are on, and how do you remove them?
Once the strips are in place, the goal is simple: keep them there, keep your mouth dry, and stay still enough to let the gel work.
Sit upright or recline slightly, breathe through your mouth, and avoid swallowing excess saliva. Talking, drinking, or eating during wear shifts the strips and dilutes the gel. Even a sip of water can wash peroxide off the tooth surface before it has finished working.
When the timer goes off:
- Peel each strip off slowly from one corner, pulling parallel to the tooth surface rather than yanking outward.
- Discard the used strips immediately, away from children and pets.
- Rinse your mouth thoroughly with water to clear any remaining gel.
- If your teeth feel sensitive, wait at least 30 minutes before brushing. Brushing right after removal on already-sensitized enamel can increase discomfort.
Any gel left on your lips or gums can be wiped away with a damp cloth. A small residue on tooth surfaces is fine to rinse away; you do not need to brush it off.
Pro Tip: Keep a glass of water nearby for rinsing after removal, but do not drink it during wear. Rinsing immediately after peeling off the strips clears gel quickly and reduces the chance of accidental ingestion.
How often should you use strips, and when will you see results?
Most over-the-counter whitening strips are designed for once-daily application over a course of 7–14 days, though the exact schedule varies by product and peroxide concentration. Your packaging is the authoritative source for your specific product; follow it precisely rather than guessing.
Quality peroxide-based whitening strips can lighten teeth by a few shades over 1–2 weeks when used as directed, with the most common side effects being temporary sensitivity and mild gum irritation.
Typical progression looks like this:
- Days 1–3: Little visible change; the peroxide is beginning to penetrate surface stains.
- Days 4–7: Subtle brightening becomes noticeable, especially under good lighting.
- End of course: Most users see the clearest improvement at this point.
Results tend to last several months, though that window depends heavily on your diet and habits. Coffee, tea, red wine, and tobacco restain teeth faster than most people expect. Pairing your whitening course with daily oral care habits that reduce staining extends how long your results hold.
For maintenance, many dentists suggest a short touch-up course every few months rather than continuous daily use. Spacing treatments gives enamel time to remineralize and reduces cumulative sensitivity. Check your product’s label for its recommended maintenance interval and follow it rather than whitening on impulse whenever you notice slight yellowing.
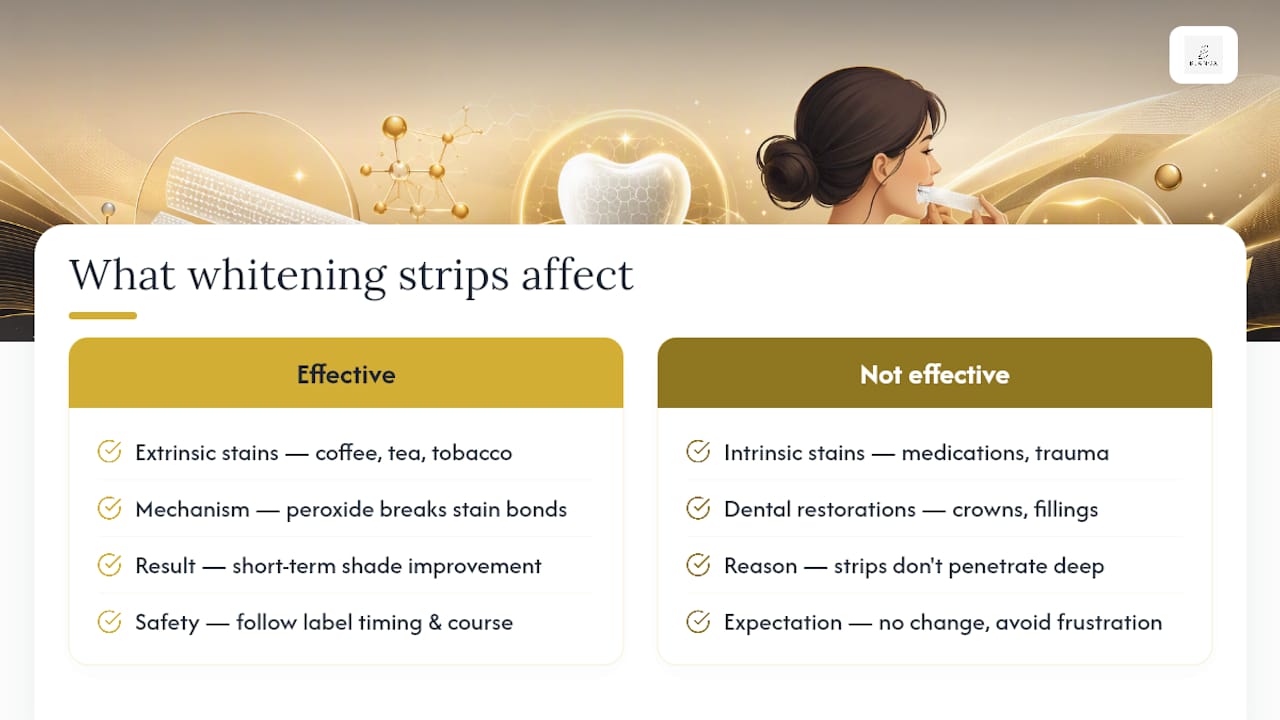
Whitening strips work best on extrinsic stains, the surface discoloration from food, drink, and age-related yellowing. They do not change the color of crowns, veneers, bonding, or fillings, so if you have visible dental restorations in your smile zone, discuss whitening timing with your dentist before starting a course.
Who should consult a dentist before using whitening strips?
Whitening strips are safe for most healthy adults, but several conditions call for professional guidance first.
A review of clinical studies found peroxide-based home whitening produces measurable shade improvement but commonly causes transient sensitivity; safety is supported when users follow product instructions. (PMC systematic review)
Consult a dentist before starting a whitening course if any of the following apply:
- You have untreated cavities or active gum disease.
- You have exposed root surfaces or significant enamel erosion.
- You are pregnant or breastfeeding.
- You are under 18 years of age.
- You have had recent dental work such as crowns, veneers, or bonding in visible areas.
- You experience chronic tooth sensitivity even without whitening products.
The ADA recommends checking for recognized safety marks and consulting a dental professional when oral health issues exist before using whitening products.
Stop using strips immediately and see a dentist if you notice any of these signs:
- Severe or persistent pain that does not resolve within a day or two after stopping.
- One tooth appears significantly darker than the others after whitening.
- Bleeding gums that do not settle within 24 hours of stopping.
- Mouth ulcers or sores that develop or worsen during the course.
Temporary sensitivity and mild gum tingling are normal and typically resolve within a day or two of finishing the course. Anything beyond that warrants professional attention. For a deeper look at overuse whitening risks and how to protect your enamel, Blancawhitening’s blog covers the topic in detail.
Pro Tip: If you know you have sensitive teeth, start with a lower-concentration product and apply strips every other day rather than daily. Slower progress is far preferable to pain that makes you abandon the course entirely.
Seven mistakes that reduce results or cause irritation
Most whitening problems trace back to a handful of repeatable errors. Knowing them in advance saves you sensitivity and wasted product.
- Brushing immediately before applying: Freshly brushed enamel is temporarily more porous. Wait 30–60 minutes.
- Brushing immediately after removal: If sensitivity is present, wait at least 30 minutes post-removal before brushing.
- Leaving strips on too long: Extra time does not mean extra whitening. It means extra irritation. Set a timer.
- Using strips too frequently: Back-to-back courses without breaks accumulate sensitivity and can stress enamel. Follow the manufacturer’s recommended rest period between courses.
- Letting gel touch gums: Gum tissue does not whiten; it only irritates. Trim strips or reposition carefully if gel is migrating.
- Overlapping strips: Strips that overlap each other or fold unevenly create uneven gel contact and patchy results.
- Eating or drinking during wear: Even water dilutes the gel and loosens strip adhesion.
Overuse, exceeding recommended wear times, or using whitening products on damaged teeth increases the risk of gum irritation and enamel problems. Always check the expiry date printed on your package before opening a strip. Expired peroxide loses potency and may behave unpredictably.
Pro Tip: Read the full whitening strips instructions on your package before your first session, not during it. Knowing the timing and any product-specific warnings in advance means you apply with confidence rather than pausing mid-session to check the box.
How should you store whitening strips safely?
Proper storage preserves the peroxide concentration and keeps the product safe for everyone in your household.
- Store strips in a cool, dry place away from direct sunlight and heat sources. Most products perform best at room temperature.
- Do not freeze strips. Freezing can alter the gel’s consistency and reduce its effectiveness.
- Keep packages sealed until use. Exposure to air degrades peroxide faster than temperature alone.
- Check the expiry date before each session. Expired strips may deliver weaker results or unpredictable gel behavior.
- Store all whitening products out of reach of children and pets. The peroxide concentration in strips is higher than in standard toothpaste, and accidental ingestion of a full strip is not trivial.
If a child or pet swallows a small amount of gel, a brief rinse with water is typically the first step. For larger amounts or if a full strip is swallowed, contact Poison Control Canada or your local emergency line immediately. Do not wait for symptoms to appear.
Why following the label instructions matters: the evidence
The mechanism behind whitening strips is straightforward. Peroxide gel, whether hydrogen peroxide or carbamide peroxide, penetrates the outer enamel layer and breaks apart the carbon bonds in stain molecules trapped within the tooth structure. Contact time and concentration together determine how much of that reaction occurs. Too little time and the stain molecules remain largely intact. Too much time and the peroxide begins irritating the dentin layer beneath enamel, which is what triggers sensitivity.
This is why the label’s timing is not a suggestion. It reflects the concentration of the specific formula and the contact time needed to produce results without crossing into harm.
Clinical evidence supports this balance. A systematic review of peroxide-based home whitening found consistent short-term shade improvement alongside transient sensitivity as the most frequently reported side effect, with adherence to timing and course length identified as the primary factor separating safe use from adverse outcomes. (PMC)
Whitening strips work on extrinsic stains, the kind left by coffee, tea, tobacco, and normal aging. They do not penetrate deep enough to address intrinsic discoloration from medications or trauma, and they have no effect on dental restorations. Understanding this scope helps set realistic expectations and prevents frustration when a crown does not match newly whitened natural teeth.
For guidance on safe whitening techniques that protect enamel, Mersal Dental’s clinic resource offers a practical clinical perspective worth reading alongside your product instructions.
If you are weighing at-home strips against professional treatment, Blancawhitening’s at-home vs. professional whitening guide lays out the key differences clearly.
A note from Blanca on safe home whitening
At Blancawhitening, every product we develop goes through review by dental professionals before it reaches Canadian consumers. That process shapes how we write our instructions, how we set wear times, and how we formulate our peroxide concentrations. Safety-first is not a marketing phrase for us; it is the starting point of product development.
What we see consistently is that the readers who get the best results are the ones who read the label, follow the schedule, and stop if something feels wrong. The temptation to leave strips on longer or use them more often than recommended is understandable, but it is also the most common path to sensitivity that derails the whole course. Patience with the process is genuinely the most effective whitening strategy.
For more on safe whitening practices and oral health topics, Blancawhitening’s blog covers everything from preventing gum irritation to maintaining results long-term.
Brighter teeth at home, backed by dental professionals
Blancawhitening’s at-home whitening strips are formulated by dental professionals and designed specifically for Canadian consumers who want real results without the guesswork of navigating unfamiliar products.
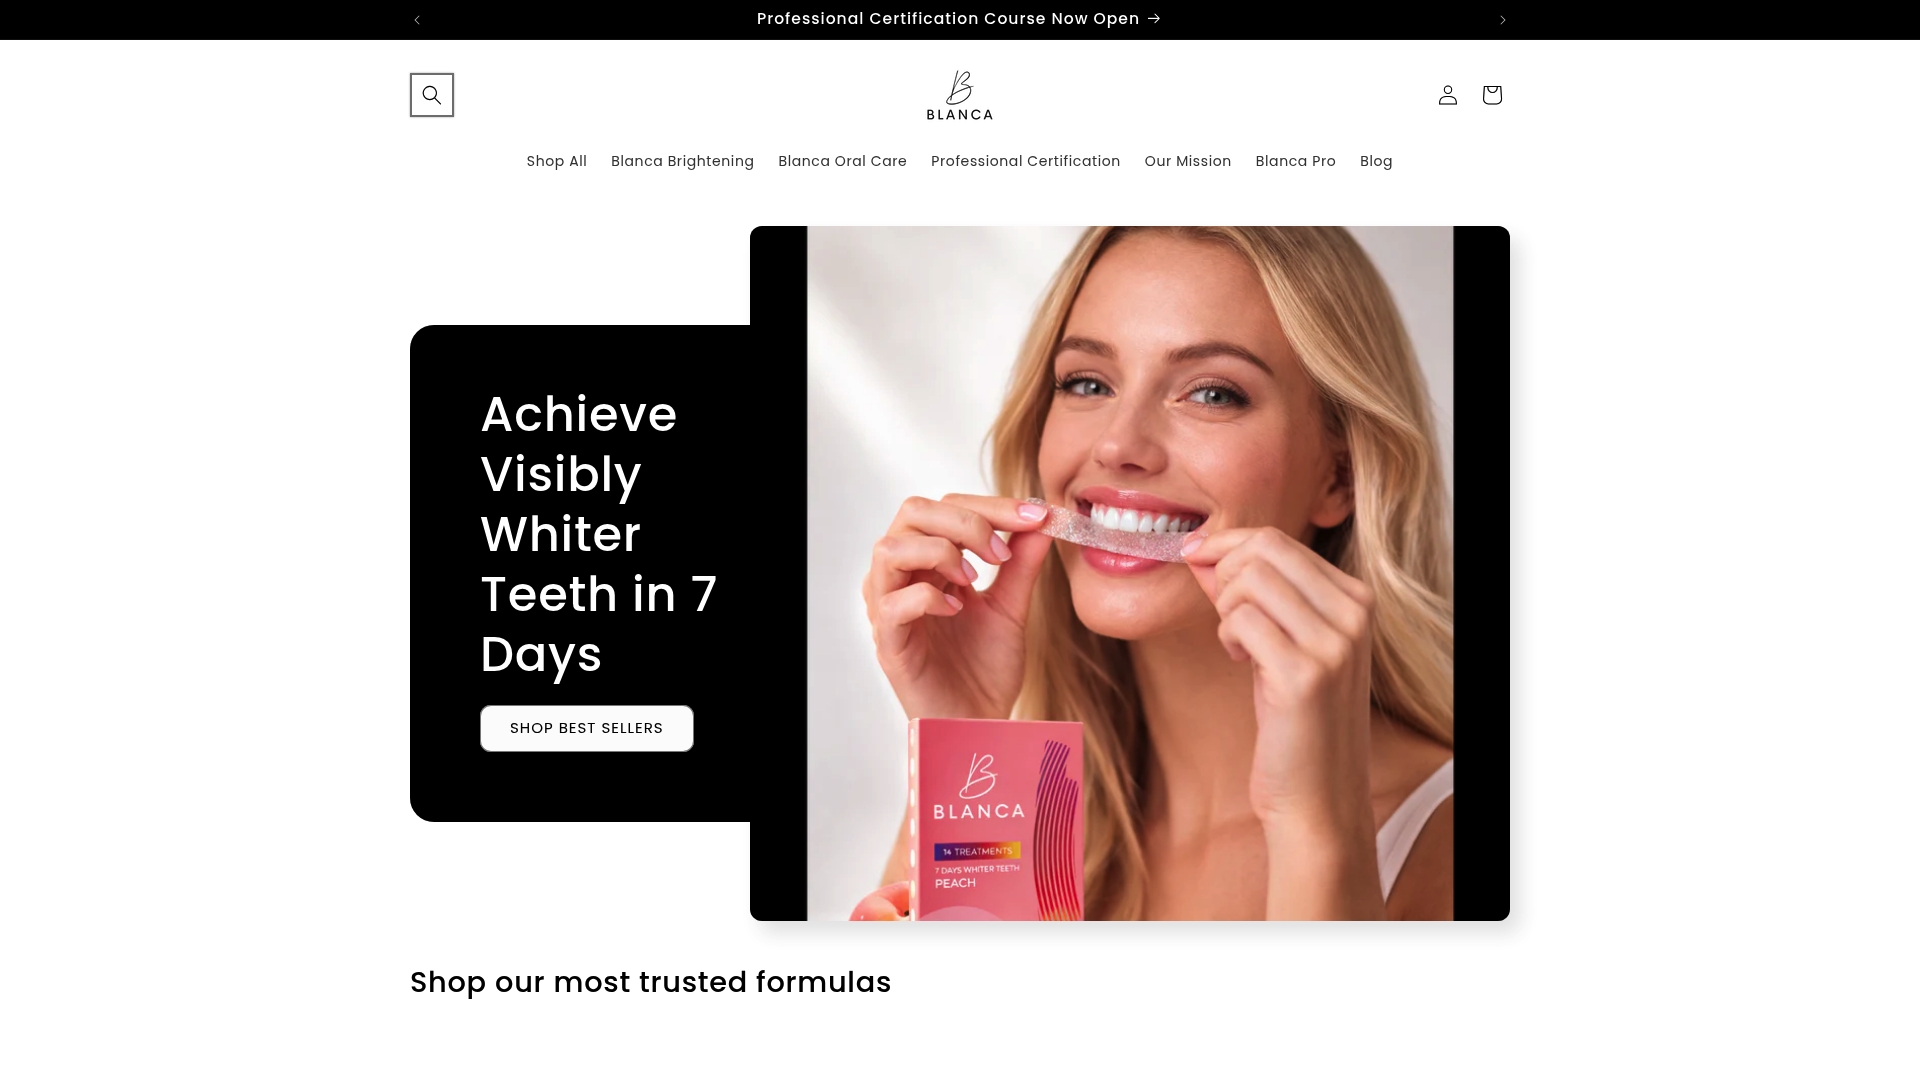
Each strip delivers a controlled peroxide concentration calibrated for effective stain removal with minimal sensitivity risk, and the application instructions are written to match the clinical guidance in this article. Whether you are starting your first whitening course or looking for a reliable option for periodic touch-ups, the Blancawhitening at-home whitening collection gives you a dental-led product you can trust. Browse the full range and find the strip that fits your sensitivity level and whitening goals.
Sources
The following resources informed this article and are worth bookmarking for further reference:
- How To Whiten Your Teeth Safely — Cleveland Clinic
- Whitening — American Dental Association (ADA)
- PMC article on tooth whitening (systematic review / clinical evidence)
- Dental
- How to Use Teeth Whitening Strips — WikiHow
For personalized guidance, consult a licensed dentist or dental hygienist before starting any whitening course, particularly if you have existing oral health concerns.
This article is general information, not a substitute for advice from a qualified doctor. Consult a qualified healthcare professional about your own circumstances before acting on anything here.